
一、安装Logstash
Logstash我也是在/data下创建了个logstash目录
和Filebeat一样去官网找到你相应的版本下载并解压,点击链接跳转官网:Logstash
curl -L -O https://artifacts.elastic.co/downloads/logstash/logstash-7.10.1-linux-x86_64.tar.gz
tar -zxvf logstash-7.10.1-linux-x86_64.tar.gz
一样解压后就相当于安装好了,进入解压后的目录里
[root@es logstash]# cd logstash-7.10.1
[root@es logstash-7.10.1]# ll
total 468
drwxr-xr-x. 2 root root    4096 Jan 29 17:54 bin
drwxr-xr-x. 2 root root     142 Jan 29 17:54 config
-rw-r--r--. 1 root wheel   2276 Dec  5  2020 CONTRIBUTORS
drwxr-xr-x. 2 root wheel      6 Dec  5  2020 data
-rw-r--r--. 1 root wheel   4041 Dec  5  2020 Gemfile
-rw-r--r--. 1 root wheel  22917 Dec  5  2020 Gemfile.lock
drwxr-xr-x. 9 root root     107 Jan 29 17:55 jdk
drwxr-xr-x. 6 root root      84 Jan 29 17:54 lib
-rw-r--r--. 1 root wheel  13675 Dec  5  2020 LICENSE.txt
drwxr-xr-x. 4 root root      90 Jan 29 17:54 logstash-core
drwxr-xr-x. 3 root root      86 Jan 29 17:54 logstash-core-plugin-api
drwxr-xr-x. 4 root root      55 Jan 29 17:54 modules
-rw-r--r--. 1 root wheel 422649 Dec  5  2020 NOTICE.TXT
drwxr-xr-x. 3 root root      30 Jan 29 17:54 tools
drwxr-xr-x. 4 root root      33 Jan 29 17:54 vendor
drwxr-xr-x. 9 root root     193 Jan 29 17:55 x-pack
注意:logstash不像filebeat进入目录后就可以看见启动文件,logstash的启动文件在bin目录下
二、配置Logstash
编辑logstash.conf,命名随意
vim logstash.conf配置输入输出
input {
  beats {
    port => 5044
  }
}

output {
  elasticsearch {
    hosts => ["http://192.168.170.111:9200","http://192.168.170.111:9201","http://192.168.170.111:9202"]
    index => "easy_demo-%{+YYYY.MM.dd}"
    #user => "elastic"
    #password => "changeme"
  }
}
三、启动Logstash
在解压后的目录执行下面命令
bin/logstash -f logstash.conf 由于启动后会占用前端控制台,我这里给这台服务器新开一个窗口(因为filebeat和logstash安装在同一台服务器的)
四、配置Filebeat
进入之前安装好的filebeat目录,修改配置文件filebeat.yml
vim filebeat.yml修改采集日志的路径filebeat.inputs
filebeat.inputs:

# Each - is an input. Most options can be set at the input level, so
# you can use different inputs for various configurations.
# Below are the input specific configurations.

- type: log

  # Change to true to enable this input configuration.
  enabled: true

  # Paths that should be crawled and fetched. Glob based paths.
  paths:
    - /data/logs/easy.log
将之前配置的output.elasticsearch给注释掉
#output.elasticsearch:
  # Array of hosts to connect to.
  #hosts: ["192.168.170.111:9200","192.168.170.111:9201","192.168.170.111:9202"]
 # index: "ffbf_nginx-%{[agent.version]}-%{+yyyy.MM.dd}"
  # Protocol - either `http` (default) or `https`.
  #protocol: "https"

  # Authentication credentials - either API key or username/password.
  #api_key: "id:api_key"
  #username: "elastic"
  #password: "changeme"
  #index: "ffbf_nginx-%{[agent.version]}-%{+yyyy.MM.dd}"
#注意:自定义索引就必须配置下面的参数,下面3项配置不要和index平齐,放在顶格不然启动报错.
#setup.template.name: "ffbf_nginx"
#setup.template.pattern: "ffbf_nginx-*"
#setup.ilm.enabled: false
再将output.logstash注释去掉
# ------------------------------ Logstash Output -------------------------------
output.logstash:
  # The Logstash hosts
  hosts: ["localhost:5044"]
五、启动Filebeat
启动Filebeat,同样占用前端控制台输出信息,可以后台运行
./filebaet -e接着在/data/logs下新建了个easy.log 模拟采集日志,随便造个假数据
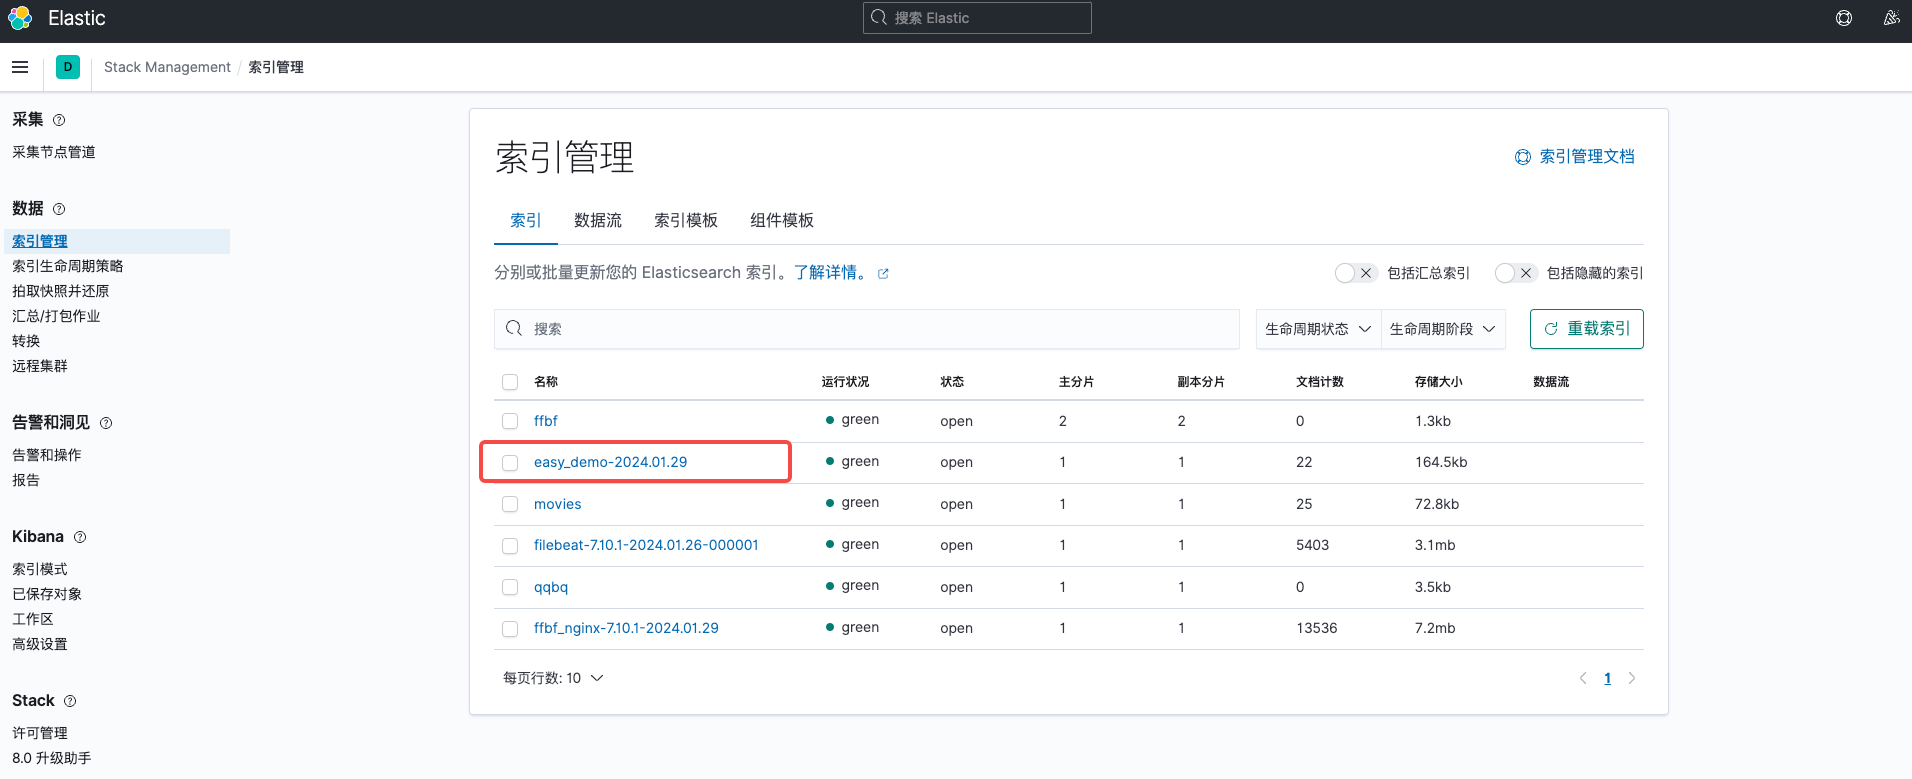
六、索引管理
和之前一样,可以看见按我们设置的索引格式创建并收集日志了。
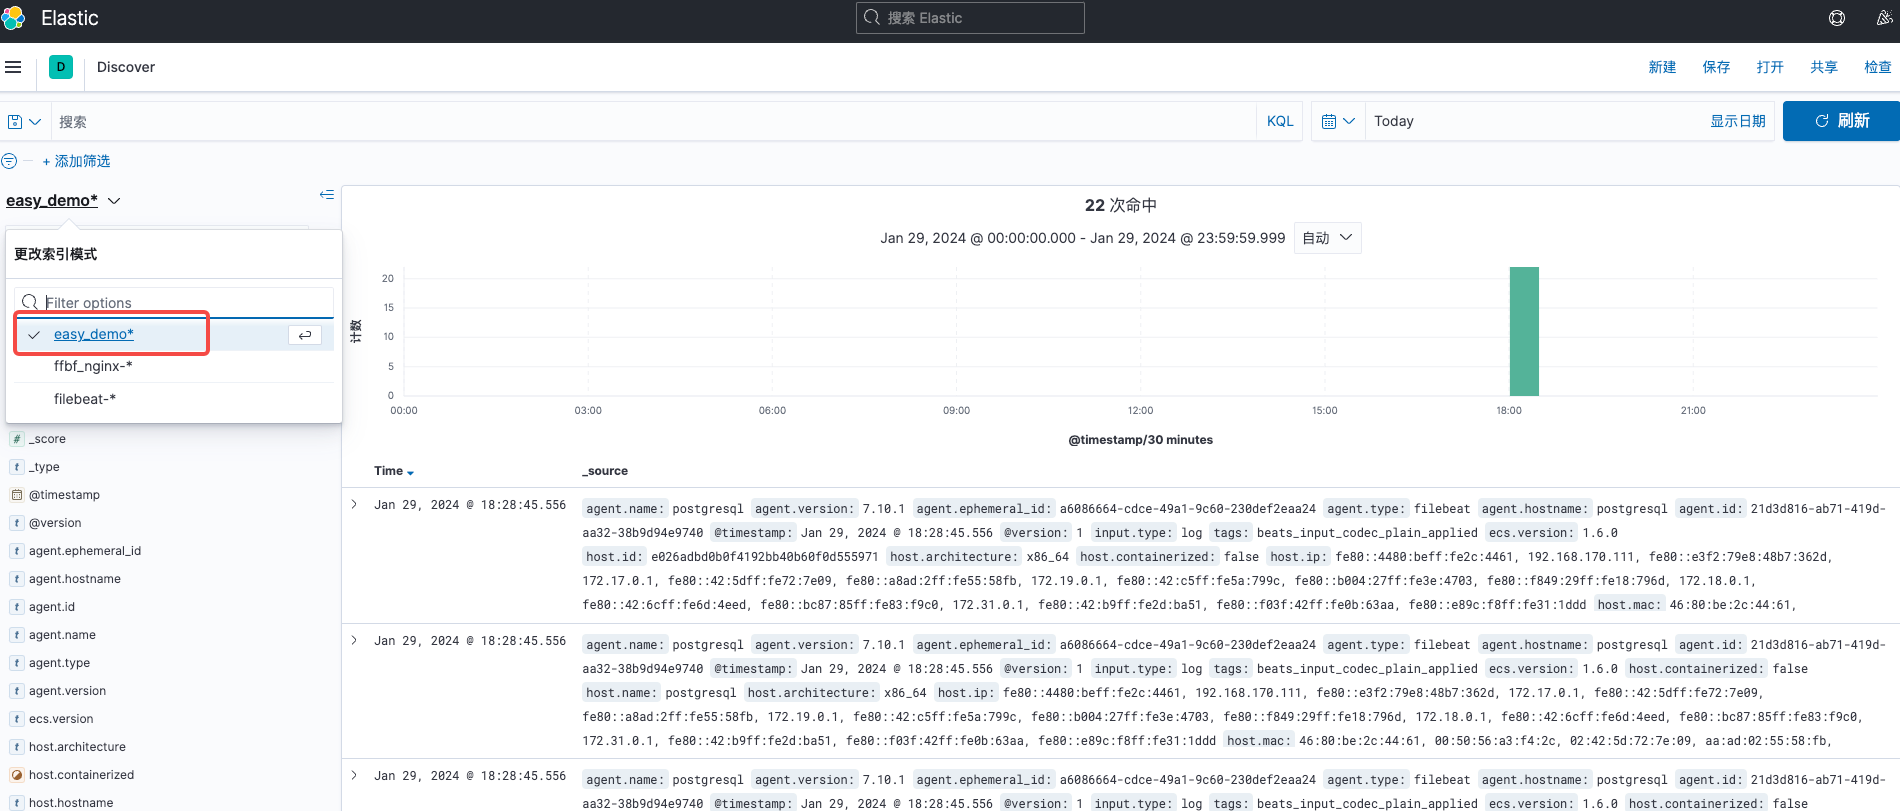
之后就是和前面一样创建索引模式、匹配、是否默认,然后去Discover查看。


评论区